CyberSecurity Project: Transparent Filtering Bridge (+ Extras) 1.0
For the past month and a week, preparation for the CompTIA Security+ exam has taken up a lot of time and mental capacity. Starting a new cybersecurity related project didn't seem appealing unless it was simple, straightforward, and tapped into existing skills.
However, I had such a project in my back pocket, something I'd seen months earlier, but couldn't do at the time: setting up a transparent filtering bridge.
What's a Transparent Filtering Bridge?
A transparent filtering bridge is a computing device that takes in packets, inspects them, determines if they're safe or not, and then passes the safe ones through.
The transparent part refers to the fact that the network doesn't know that the device is there, requiring no alterations to the network configuration. This is a great benefit, because if something goes wrong, you can simply remove the device from the network entirely and restore the direct modem/router connection (or whatever your previous arrangement was).
The Network Layout

Since I'm implementing this in a mesh network, I'll be connecting to only one of the three routers, which happens to be the one that the Pi-Hole is connected to. And for the same reason - this connects directly to the modem, making it the logical place to handle filtering while maintaining good performance.
The MiniPC
Picking the host system for this was interesting. The MiniPC space has exploded in the last few years, thanks to Intel and AMD flooding the market with a wide variety of low power processors that can outperform Raspberry Pis and utilize common desktop/laptop components (SSDs and RAM).
There were a few key requirements for the hardware:
- At least two (2) RJ45 ethernet ports.
- More than 1 Gig ethernet speed.
- At least 4 cores/4 threads for the CPU.
- Decent/upgradeable RAM - minimum 8GB.
- Cost: $200 maximum.
Of the five requirements, the cost and RAM quantity were the most flexible, for two reasons. First, if the MiniPC design supported upgradable RAM, a low initial quantity could later be replaced as needed. Second, $200 was a soft cap - if there was a particularly good deal in terms of hardware for the price, paying more would make sense.
Also, part of the reason I didn't immediately jump on this project was because Florida has two sales tax holidays for computer hardware - one at the end of July/beginning of August, and one at the beginning of January. By waiting, I would cut 6.5% off of the total price of the hardware.
Everything else was a hard requirement. MiniPCs are far less upgradable than normal PCs, due to their compact nature. More of the components are hard soldered to the motherboard, so whatever you buy has to not only not bottleneck your network performance, but potentially last 5+ years (or at least until you can get an equally good deal).
So, what did I wind up picking?
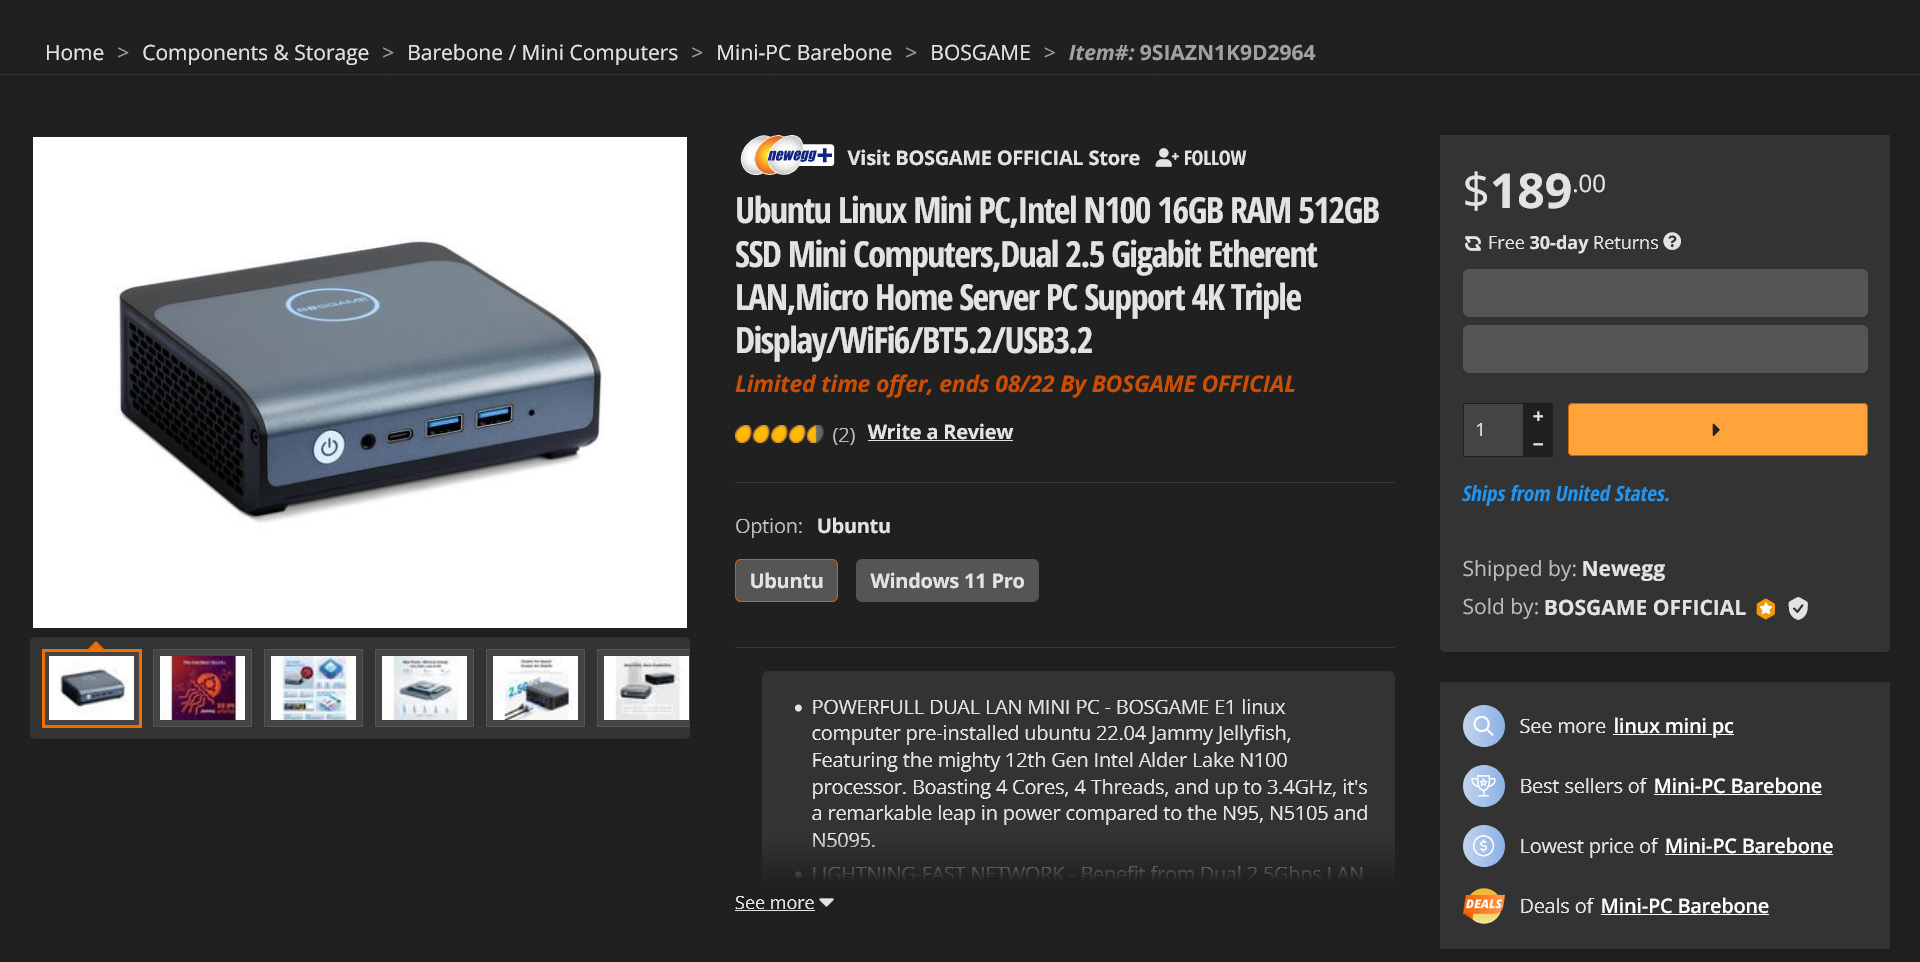
In a stroke of great timing, Newegg had a deal on this MiniPC, which was recommended in the Dave's Garage video I posted earlier. It met every single one of my requirements:
- Two (2) RJ45 ethernet jacks.
- 2.5 Gig ethernet speed.
- 4 cores/4 threads on the CPU.
- 16 GBs of RAM.
- Less than $200.
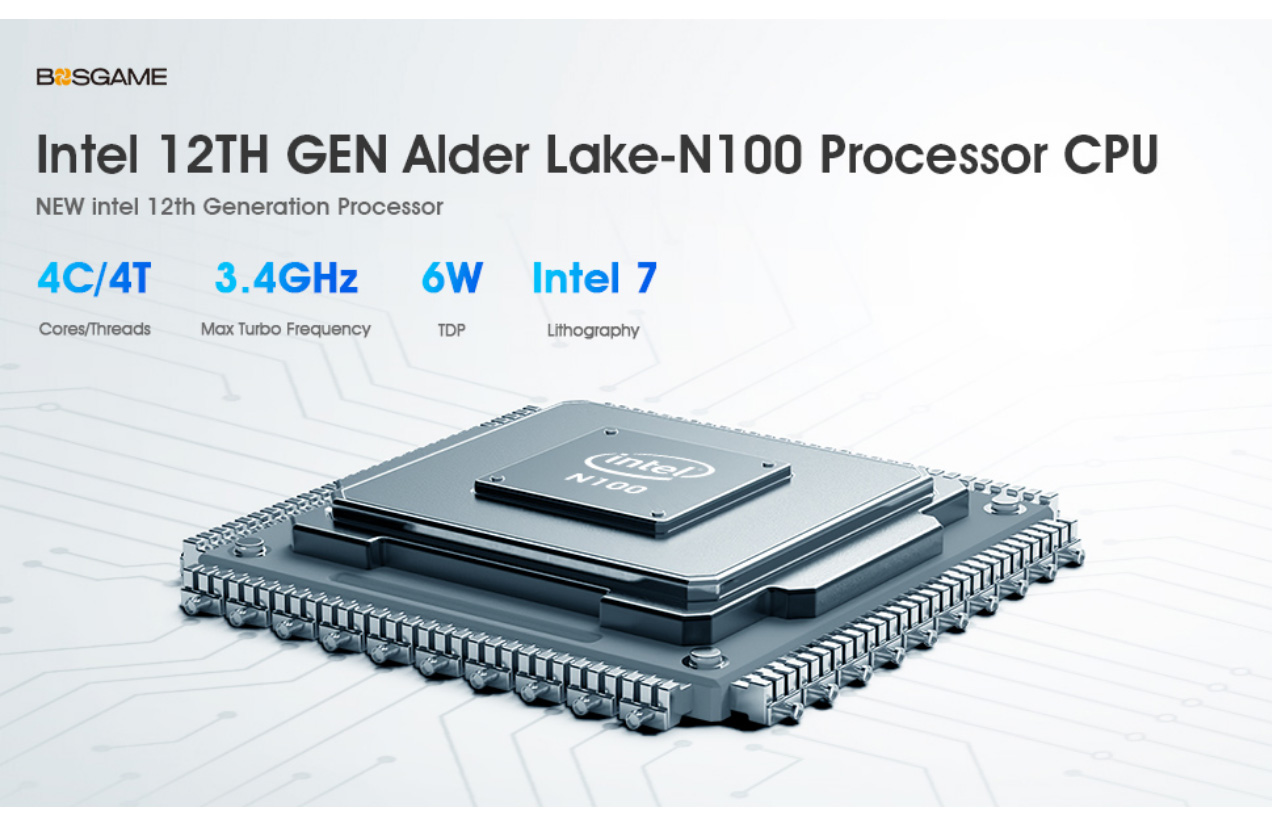
Coincidentally, the N100's specs are very similar to the first gaming CPU I ever used to build a PC with - the legendary i5-3570K. The main differences are in node, power draw, and of course, size of the actual chip.
Also, importantly, this is not a Raptor Lake chip, so I don't have to worry about the CPU degradation issues that are plaguing those CPUs.
Based on these specs, there are only a few scenarios that I can see where this device needs to be replaced within five years:
- General failure.
- Affordable 2+ GB fiber ethernet comes to my area.
- Home routers start shipping with 5 gig ethernet ports as standard.
In every other scenario, the routers and internet connection to my home are going to be performance bottlenecks, especially since I ordered a Cat 8 ethernet cable to directly connect this MiniPC to my modem.
Hands On
Having received the PC (luckily, before Florida was hit by a hurricane), I can speak to the physical aspects of the device.
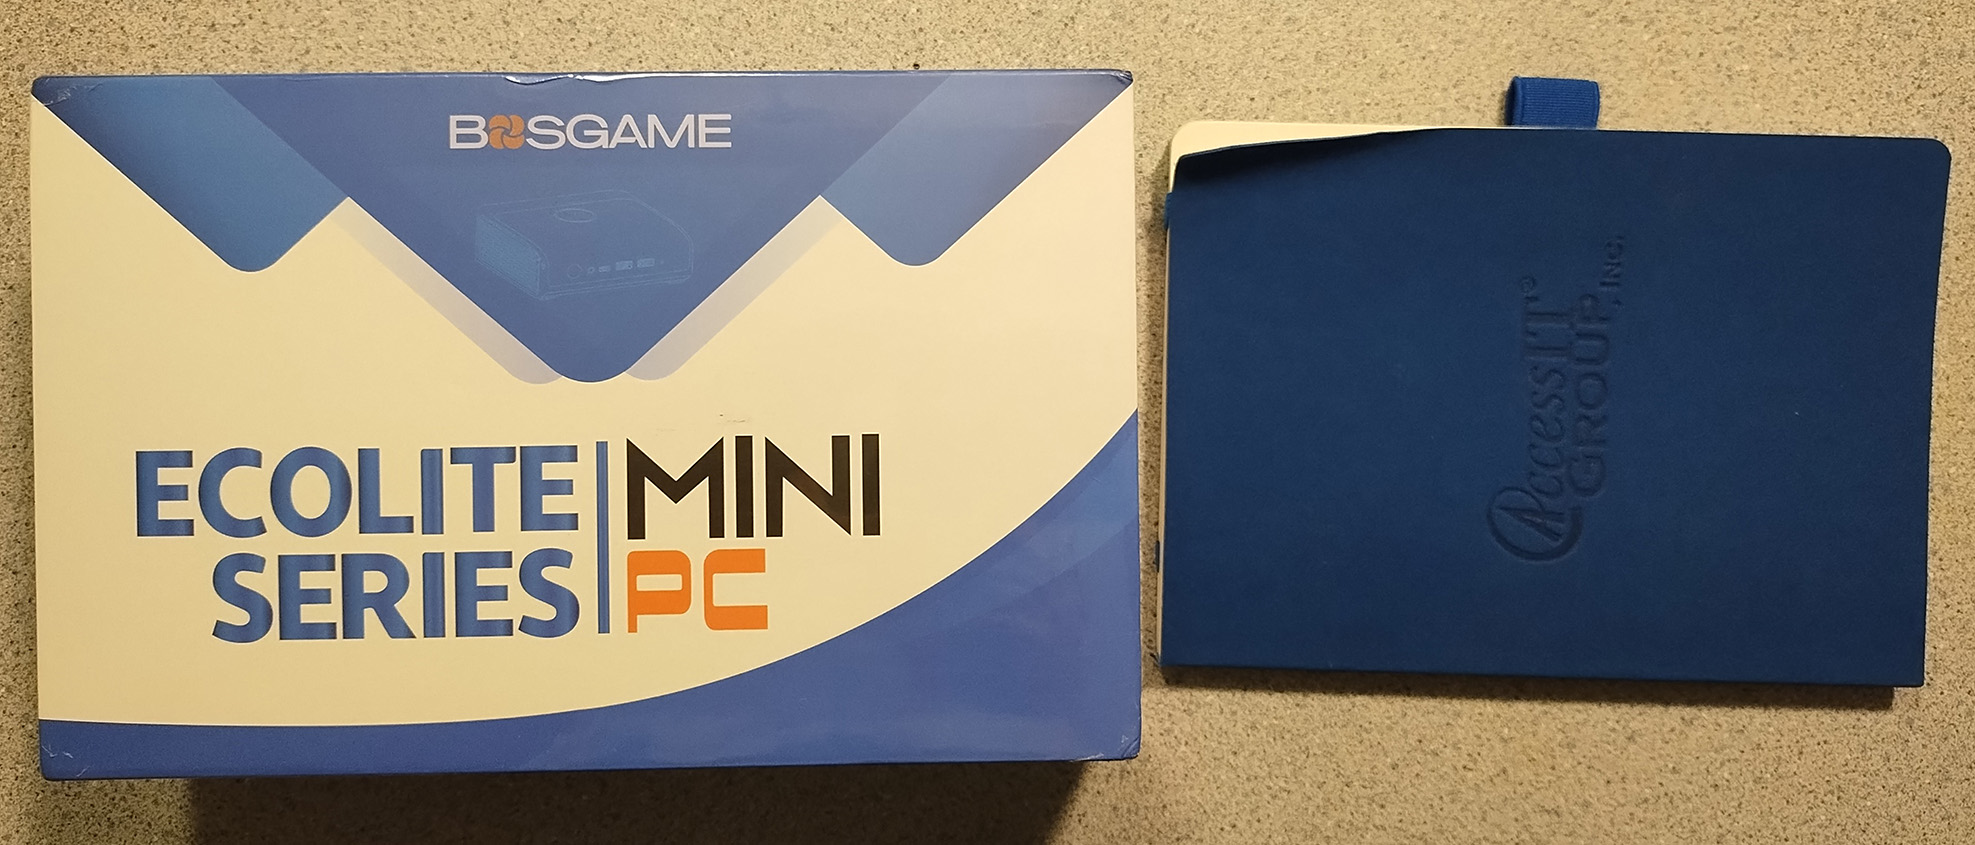
Comparing the size of the box with the common size of gift notebooks from cybersecurity events gives you a ballpark idea of how small the total package is.
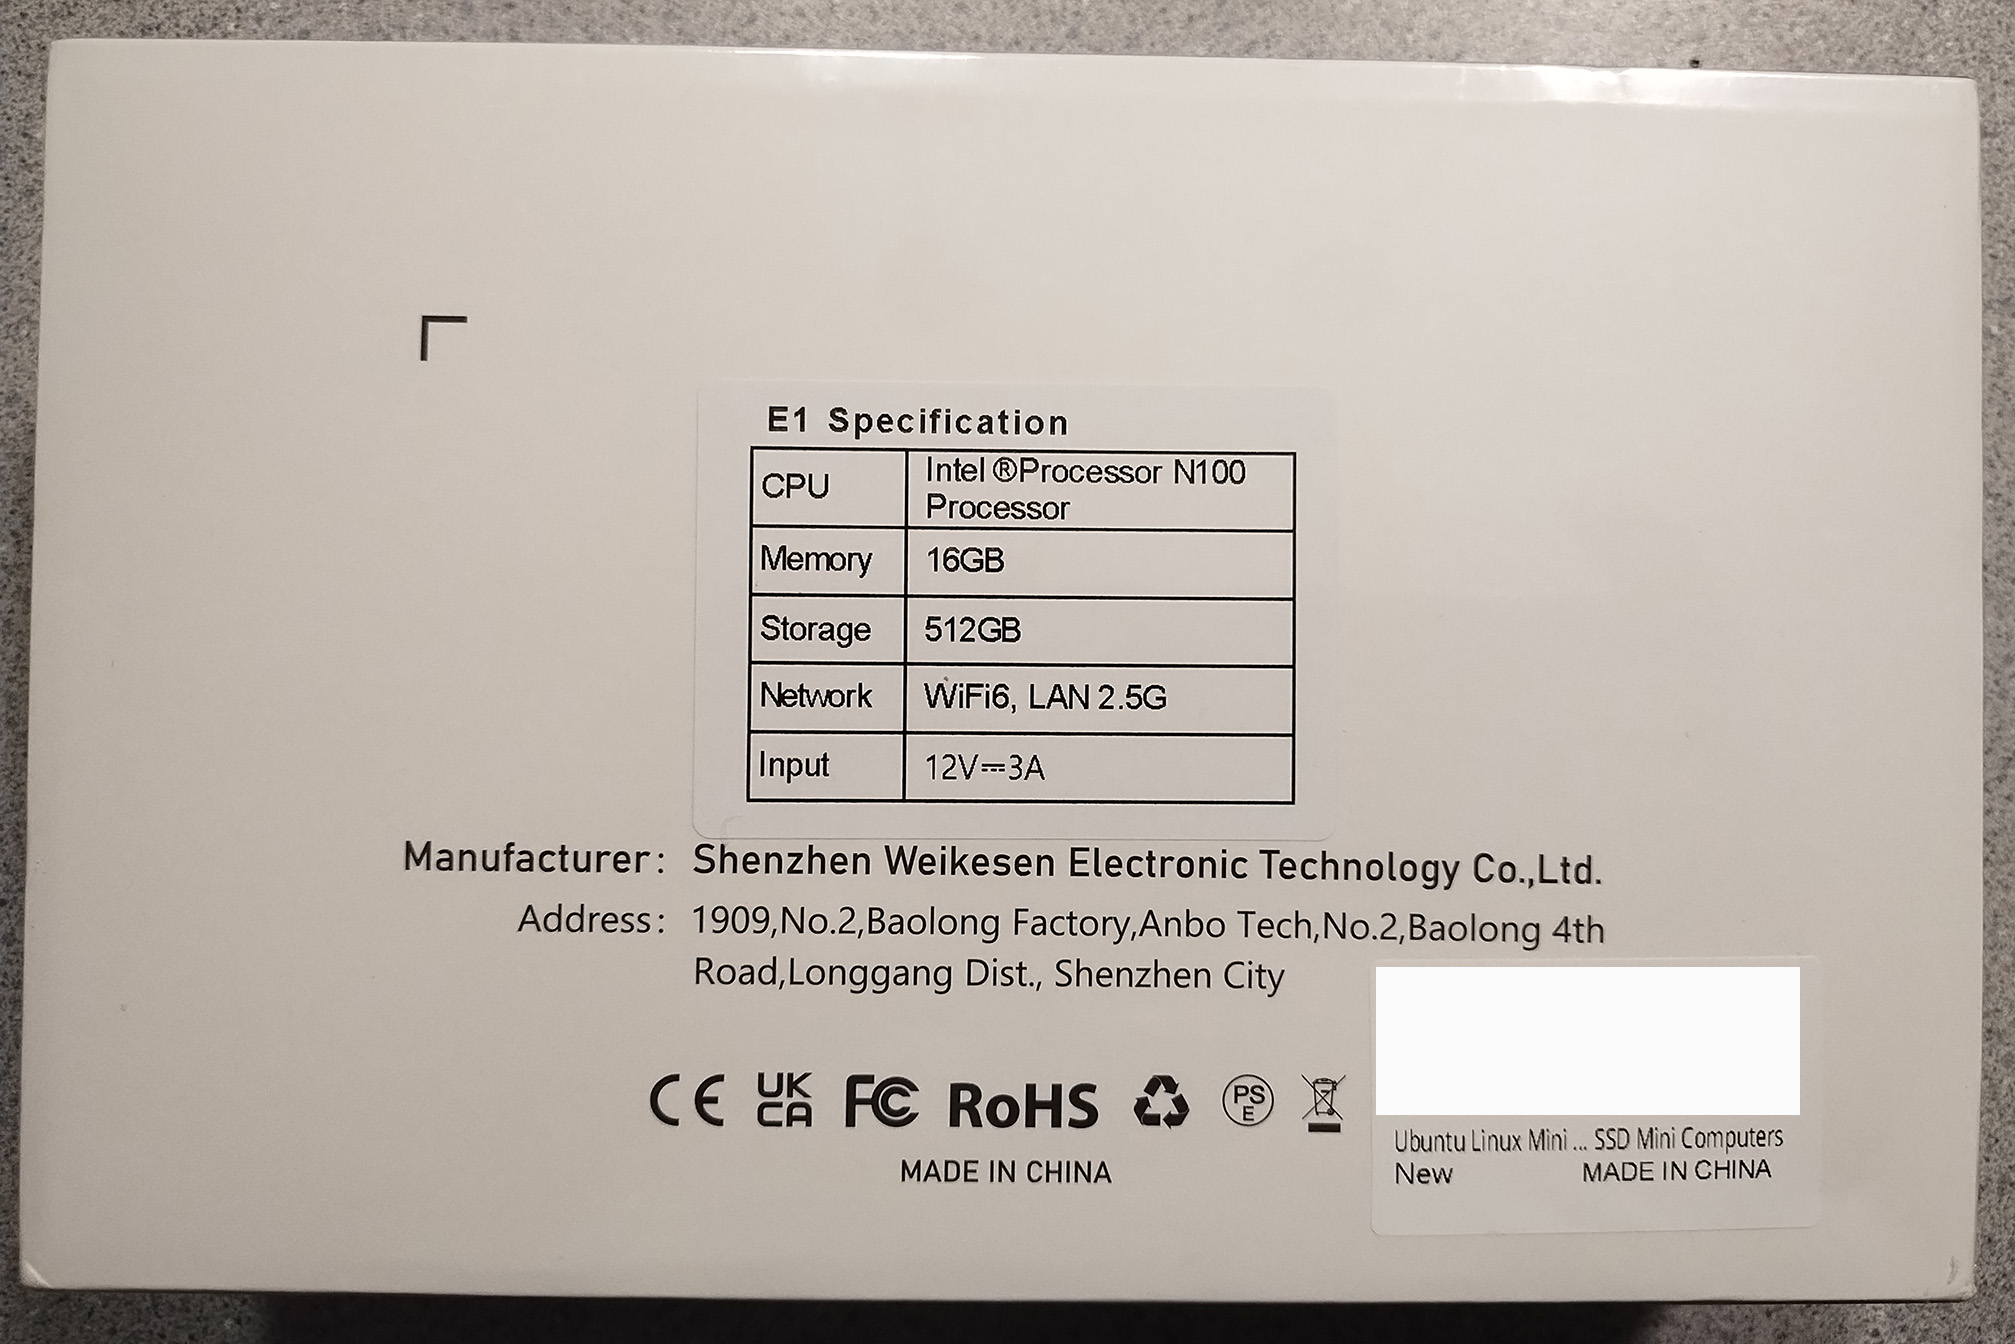
The bottom of the box has the manufacturing details, hardware specifications, and on the barcode label, which operating system is installed on the system.
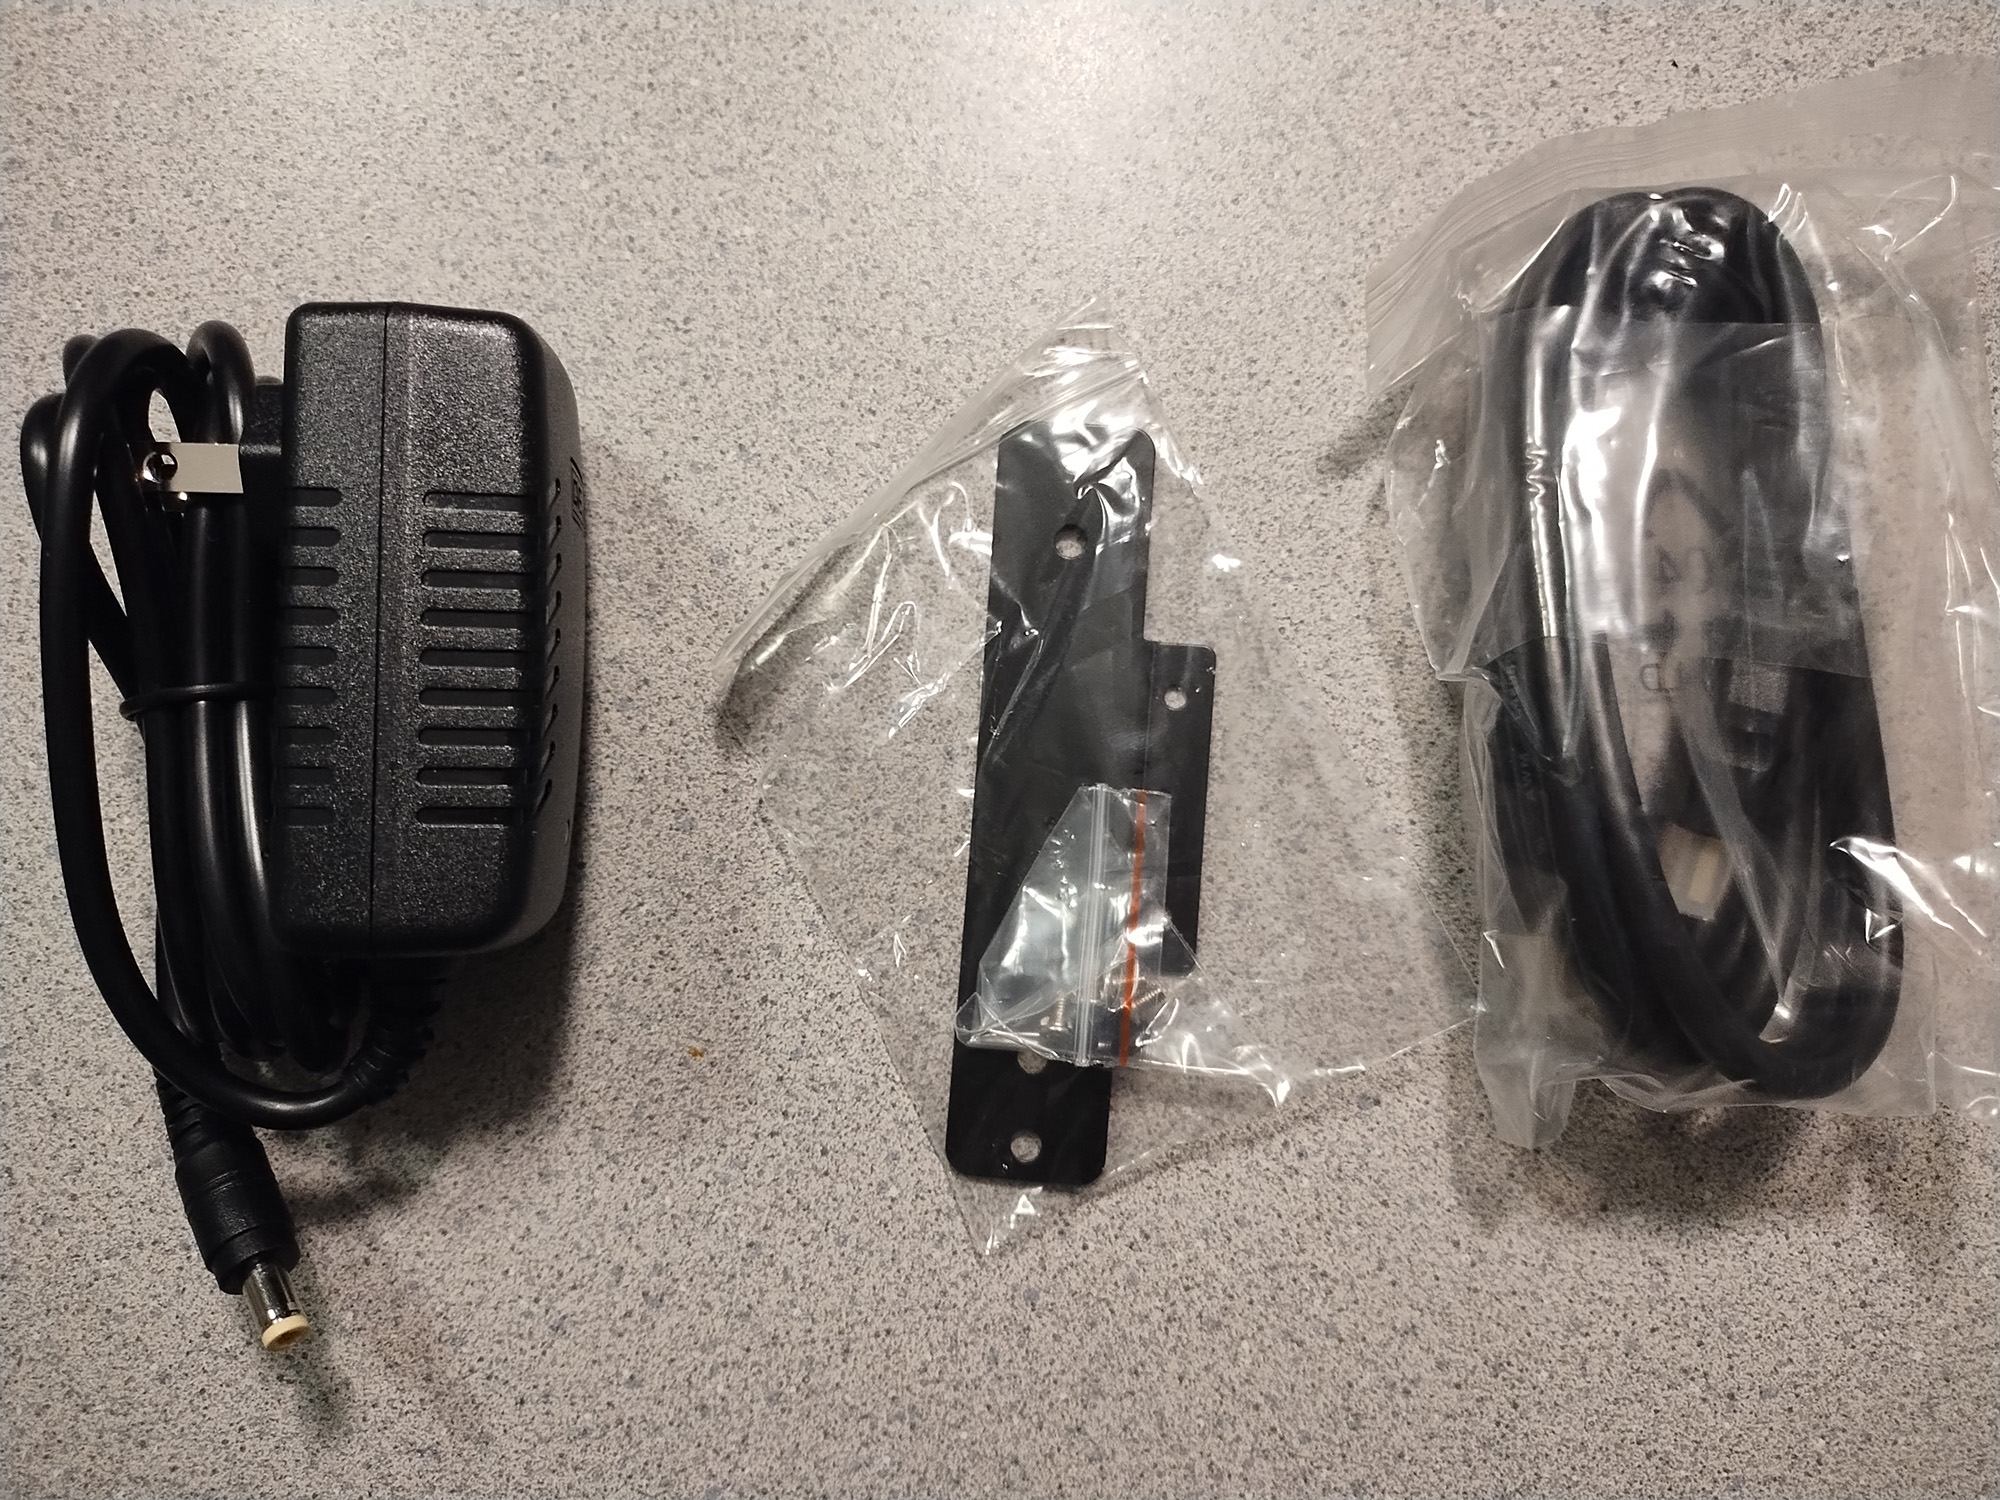
The only accessories are the power adapter, a mounting bracket with screws for mounting the MiniPC to the back of a monitor, and an HDMI cable.
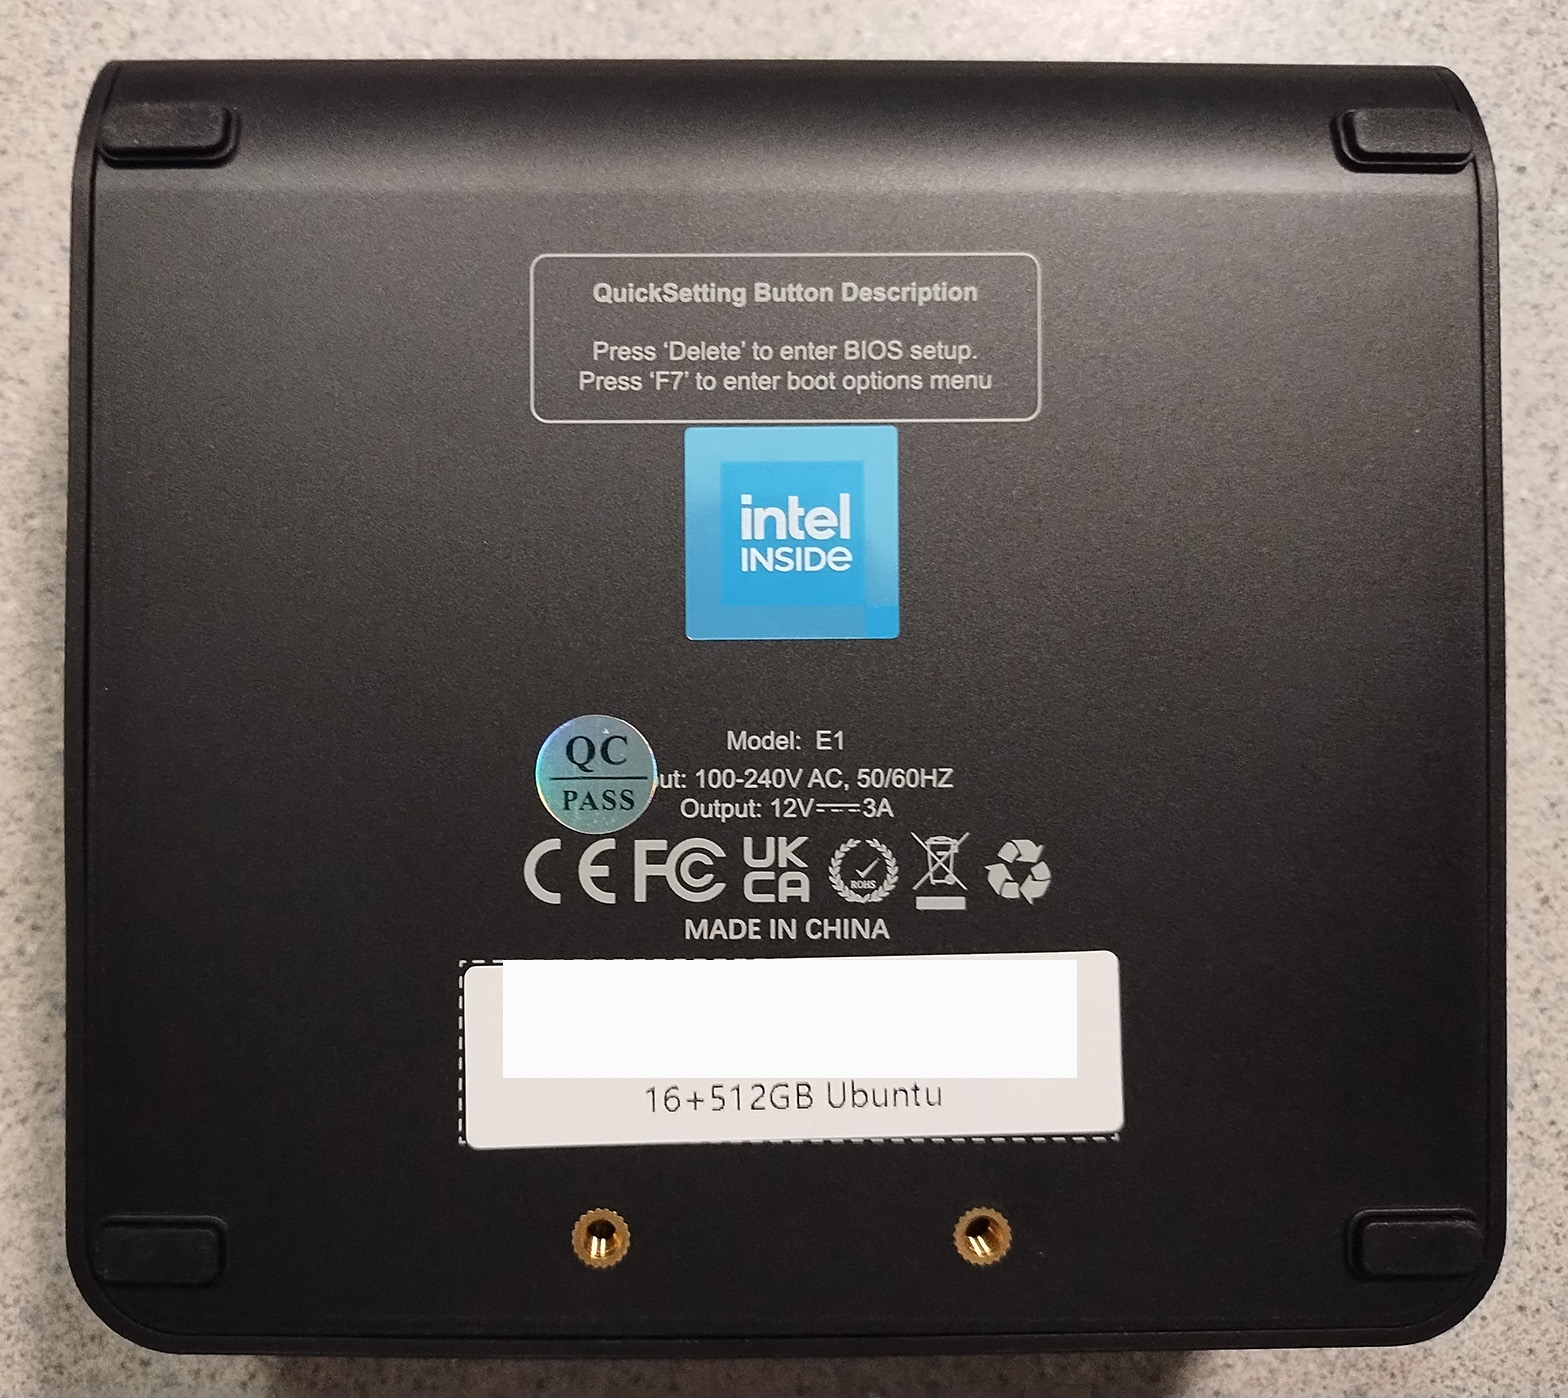
One nice quality of life feature is the fact that instructions on how to enter BIOS or the boot options are printed directly onto the bottom of the case. There's also an extra barcode label that confirms what system configuration you have.
The build quality is generally solid, with the minor exception of the front input/output. The plastic of the top cover has some flex there, possibly due to the geometry and requirement for it to be removable for SSD/RAM upgrades. The only other surprise was the presence of a "press this with a paper clip" sized button for resetting the BIOS on the front panel. Quite useful if something goes horribly wrong.
The only attribute of the design I'm somewhat uncertain about is the cooling. Not just whether the cooler is sufficient for peak thermal load if there's a particularly stressful task, but about the thermal interface material (TIM). The TIM is a heat conductive material that allows heat to flow from the chip to the cooler, and if it's a bog standard thermal paste, repeated heating/cooling cycles can lead it to pump out of the gap between the two.
Graphite thermal pads and phase change material are good solutions to this issue, but that would require a full tear down, which would require some extra research that's outside the scope of this project.
With the primary hardware in hand, the only thing left is the CAT 8 ethernet cable, and then the project really get going.

